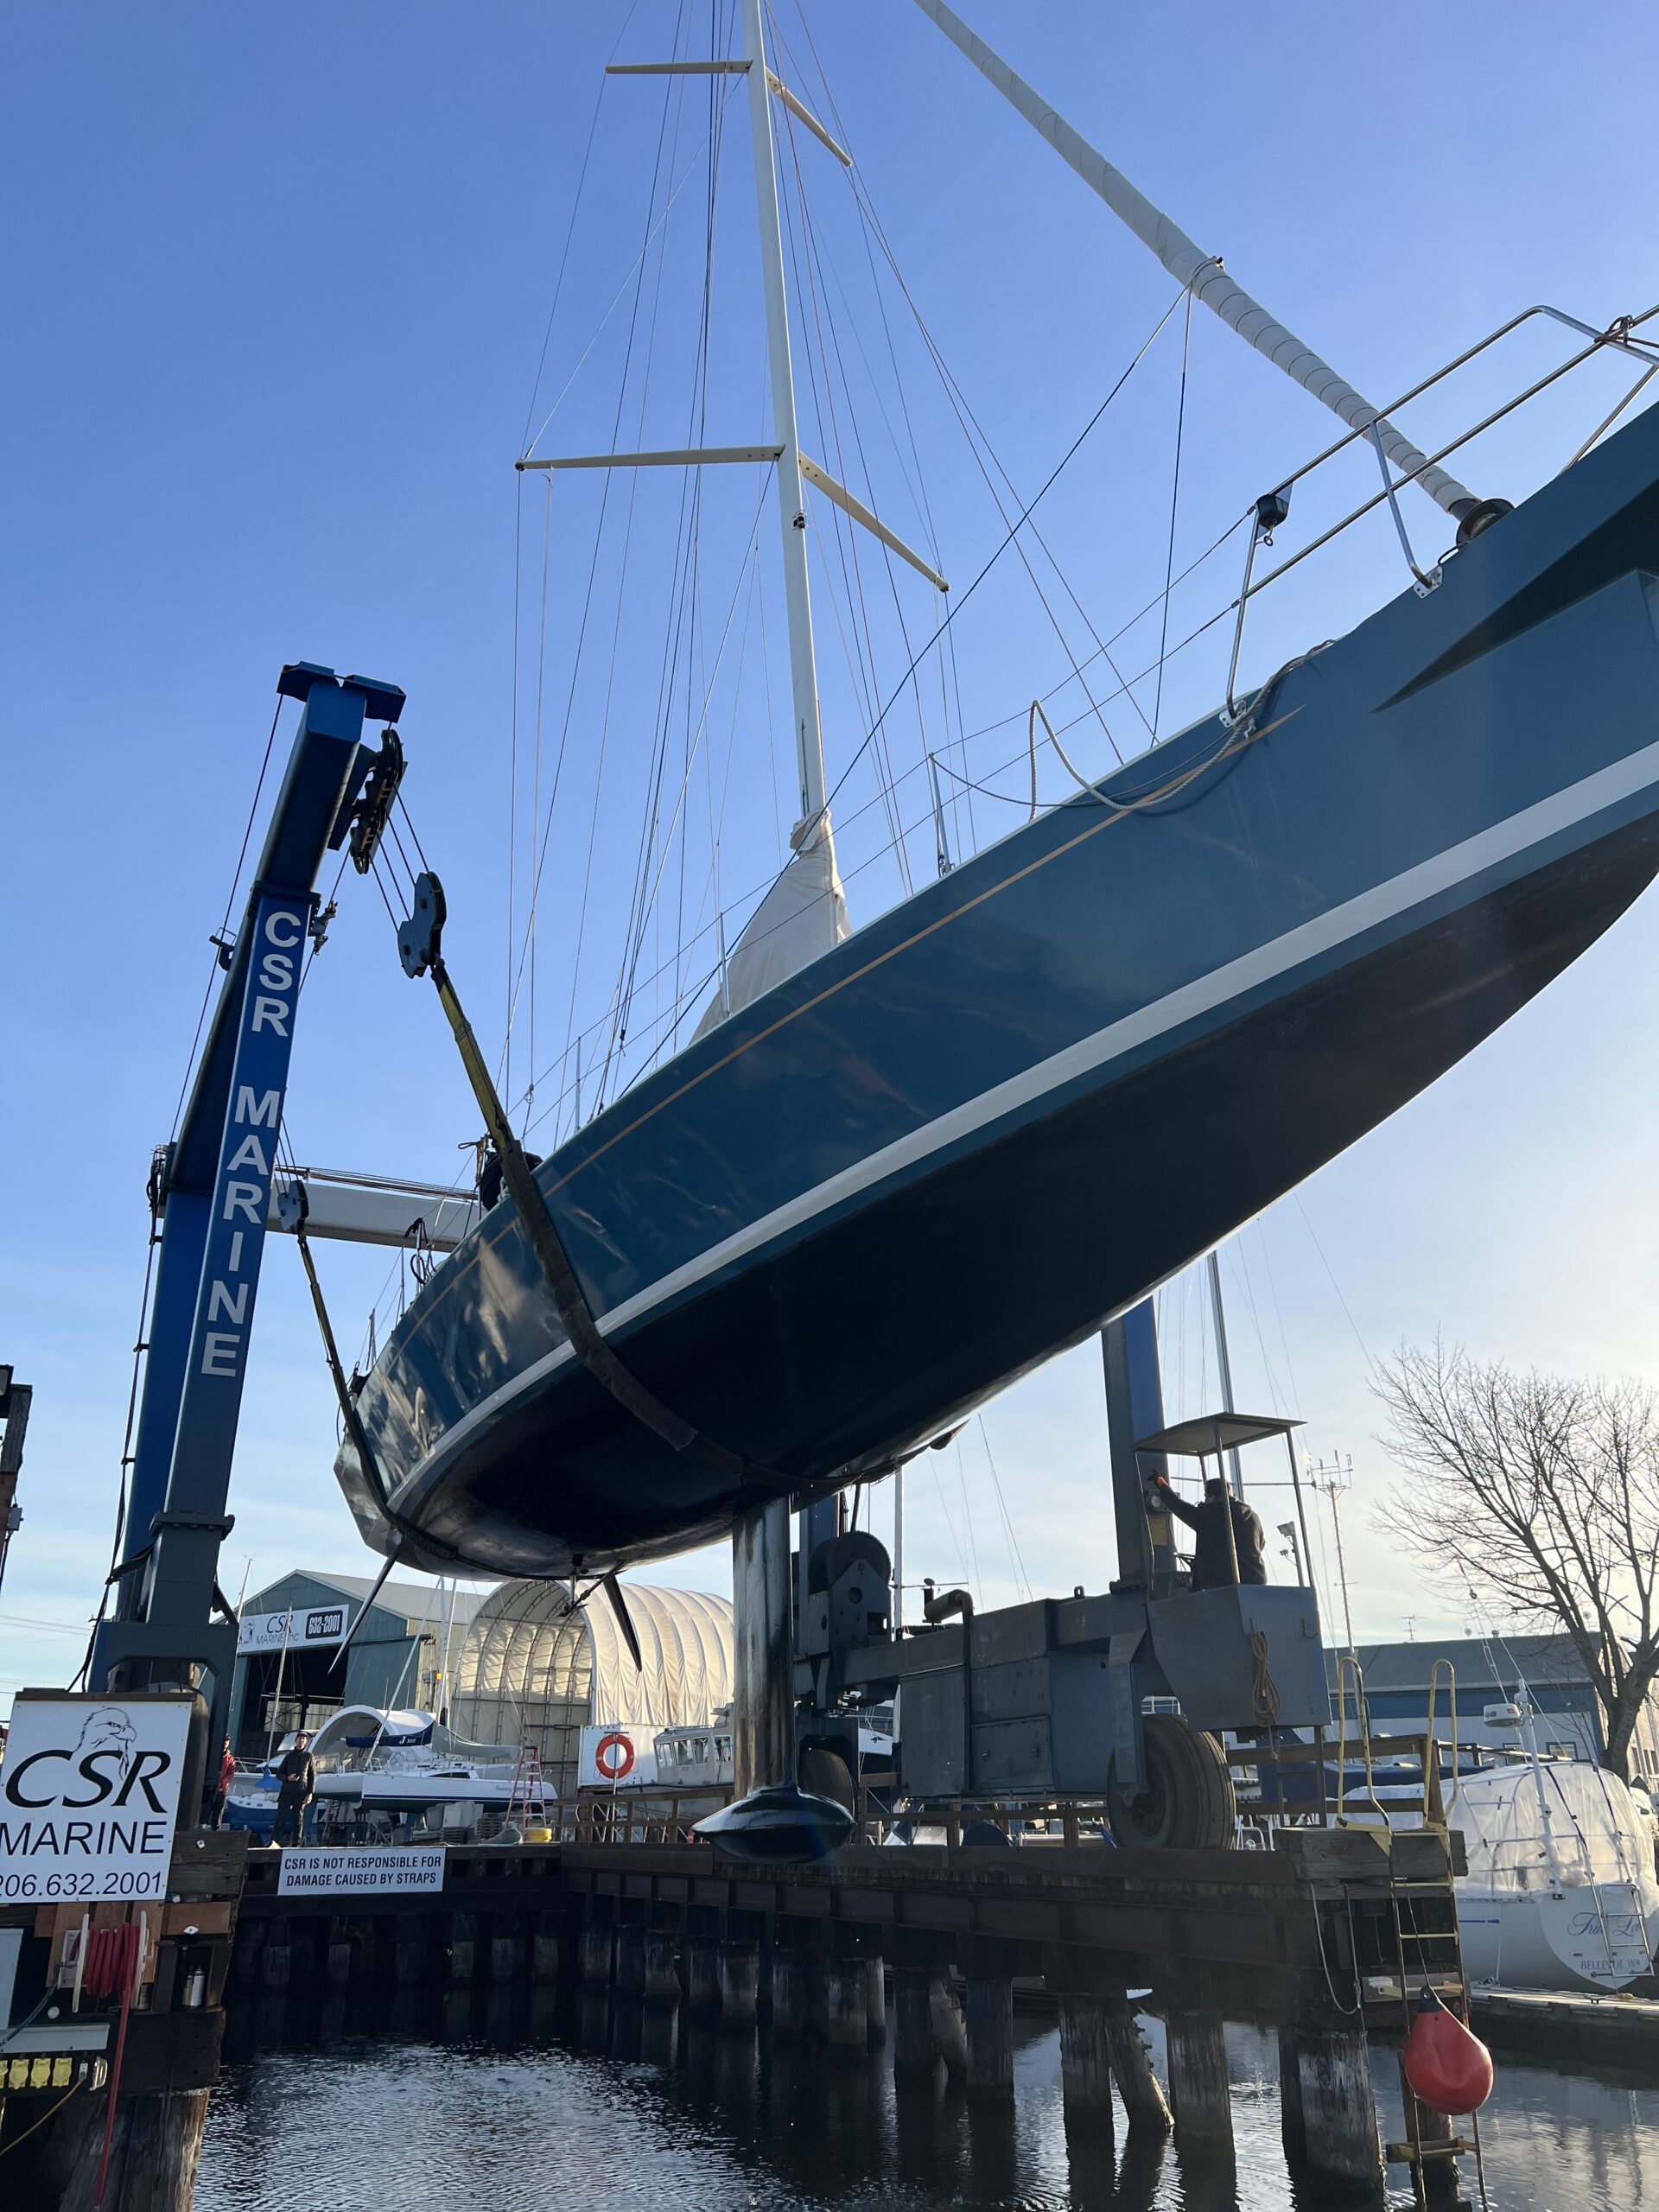
We brought the blue boat through the open railroad trestle, into the locks, up to lake level, and she came out of the water on January 30th, 2023. What a huge boat and man, it is fun seeing her undersides! You can see how much fun Greg is having here:

She had to be put over in the corner of long boat alley which was far away from the shop but it was good to be out of the way of activities since we didn’t really know how long we’d be out for. On the list was bottom paint, through hulls, and getting lots of unused stuff off of her. First step was building the tent to contain the old paint and dust when we stripped the bottom. We don’t use much plastic at all in other parts of our lives but certainly made up for it here. First, heavy plastic was taped on the top and bottom over the hull paint. Next, more heavy plastic was taped from the deck down to the ground and a ton or two of cement bricks was used to anchor it and mesh it with the bottom tarps. The cement bricks all had lines that went up to the stanchion bases to support the walls. Then big tarps covered the whole thing to protect it from being blown away whiich gave that eerie blue light in our new world. Around the tarps was more line that tied through the tarp layers to the vertical lines to hold the tarps down and make the walls stronger. I thought it was overkill, I was wrong since even those tarps were pretty shot by the time we were done.


It took me a whole week to build this thing and I was ready to be done with ladders and moving them umpteen times. Next was more of the same though, just shorter ladders and add in scaffolding and large power sanders! I wished so many times that the bottom wasn’t quite so far from the ground. There were many many layers of paint on the bottom and they all had to come off. Without knowing the bottom job history, as you sand it down you have to intuit when the time to stop is without getting to carbon. The problem is that this boat has had enough bottom jobs to have lots and lots of layers and colors so you just have to start and learn as you go. A LOT of paint came off! There was about half a inch of paint on the ground everywhere inside the tent when we were done. We had help, lots.


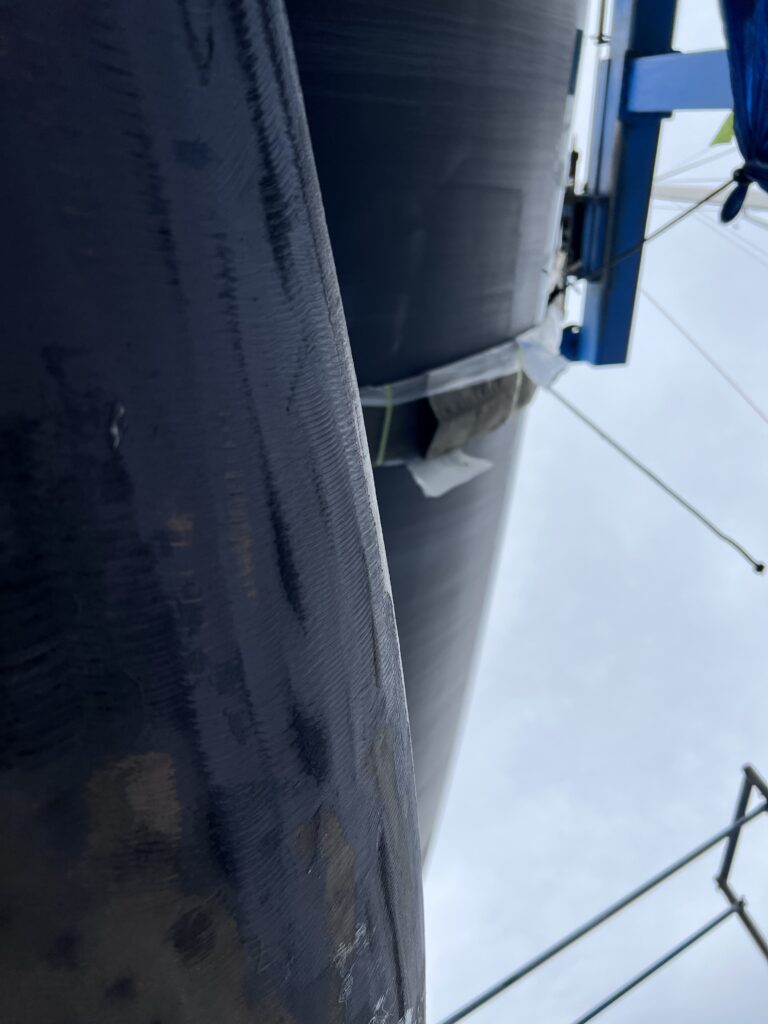
The rudders had a few spots on their leading edges that were questionable so we added some carbon strips to protect them from further damage. The trim tab had been pretty hard to turn so we paid special attention to cleaning up around its shaft and where it meets the bulb. A hole in the keel bulb was still weeping water too so we had another job after the big tent was done when we could lift the boat off the ground.
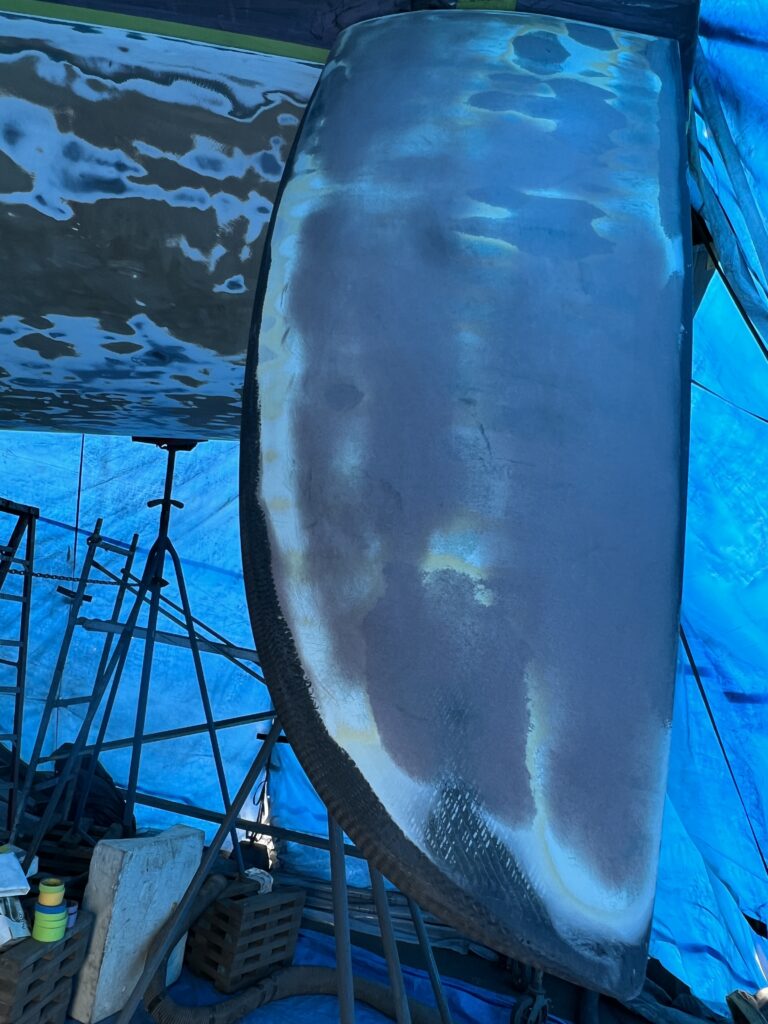


Then it was time for primer and going over everything again. I added filler in a few spots where the sander had gotten out of control or where we’d found spots that needed a little more work. I’m writing this months later but I had a flashback just then of how hard this time was, having the bottom primed made it feel like we were close to being done but we were not. Looked a lot better with primer on though!


I took a break while the painters were going at it on the outside and did some clean up and chores inside. All new fuel filters and oil, taking out the huge old ballast pump and wiring, sump removal, and putting in a new shower sump drain line and pump. By the way, it was already March as indicated by the new fuel filter.


Back outside, after lots of little details, bottom paint was going on!


Paul came by one day after the boat was finally all black and uncovered again to see Pippa, another of his designs. She was next to us in the yard and he was reshaping the trailing edge of the keel. Fun to see! He inspired us to do a little more work and burnish at least the front 15 feet of the hull and the foils for better flow adhesion. Oh, goody! More time on ladders and scaffolding. Sure makes Pippa look like a reasonable vessel.


Next was to figure out how we wanted the through hulls. There had been a sump box that many drains went to but that didn’t have a pump with it anymore so essentially, anytime that through hull was open we were dependent on a plastic box, it’s lid, and all the little hoses and clamps hooked up to it to keep us afloat. We also didn’t like the octopus of PVC T’s that was the main intake water for the engine, salt water pump, head, and more. The T’s were in a line that was 90 degrees to the through hull and acted as a lever if you ever accidentally leaned on them- as one is want to do when climbing around in tight quarters. A few times I had an arm rest on the T’s, saw them flex a little, and noticed where the strainer basket attached to the through hull leaked. Also, that strainer basket was rated for above water line installation only, which it definitely was not. Our insurance company should be so happy with us! Old is on the left, new on the right- this is now just the head and pressurized salt water pump intake:


The head, galley sink, water maker/fridge and freezer compressors, and engine now all have separate through hulls though we didn’t add any to the boat, just repurposed an old ballast input to engine input.
Back outside, we were getting close to being done. I had gone around the boat again and again cleaning, applying layers of polish and wax according to 3m’s paint care instructions. Thankfully we have almost a full gallon of “Bieker Blue” hull paint, I mixed up some small batches of that to touch up a long scratch and other small dings and wears in the paint.
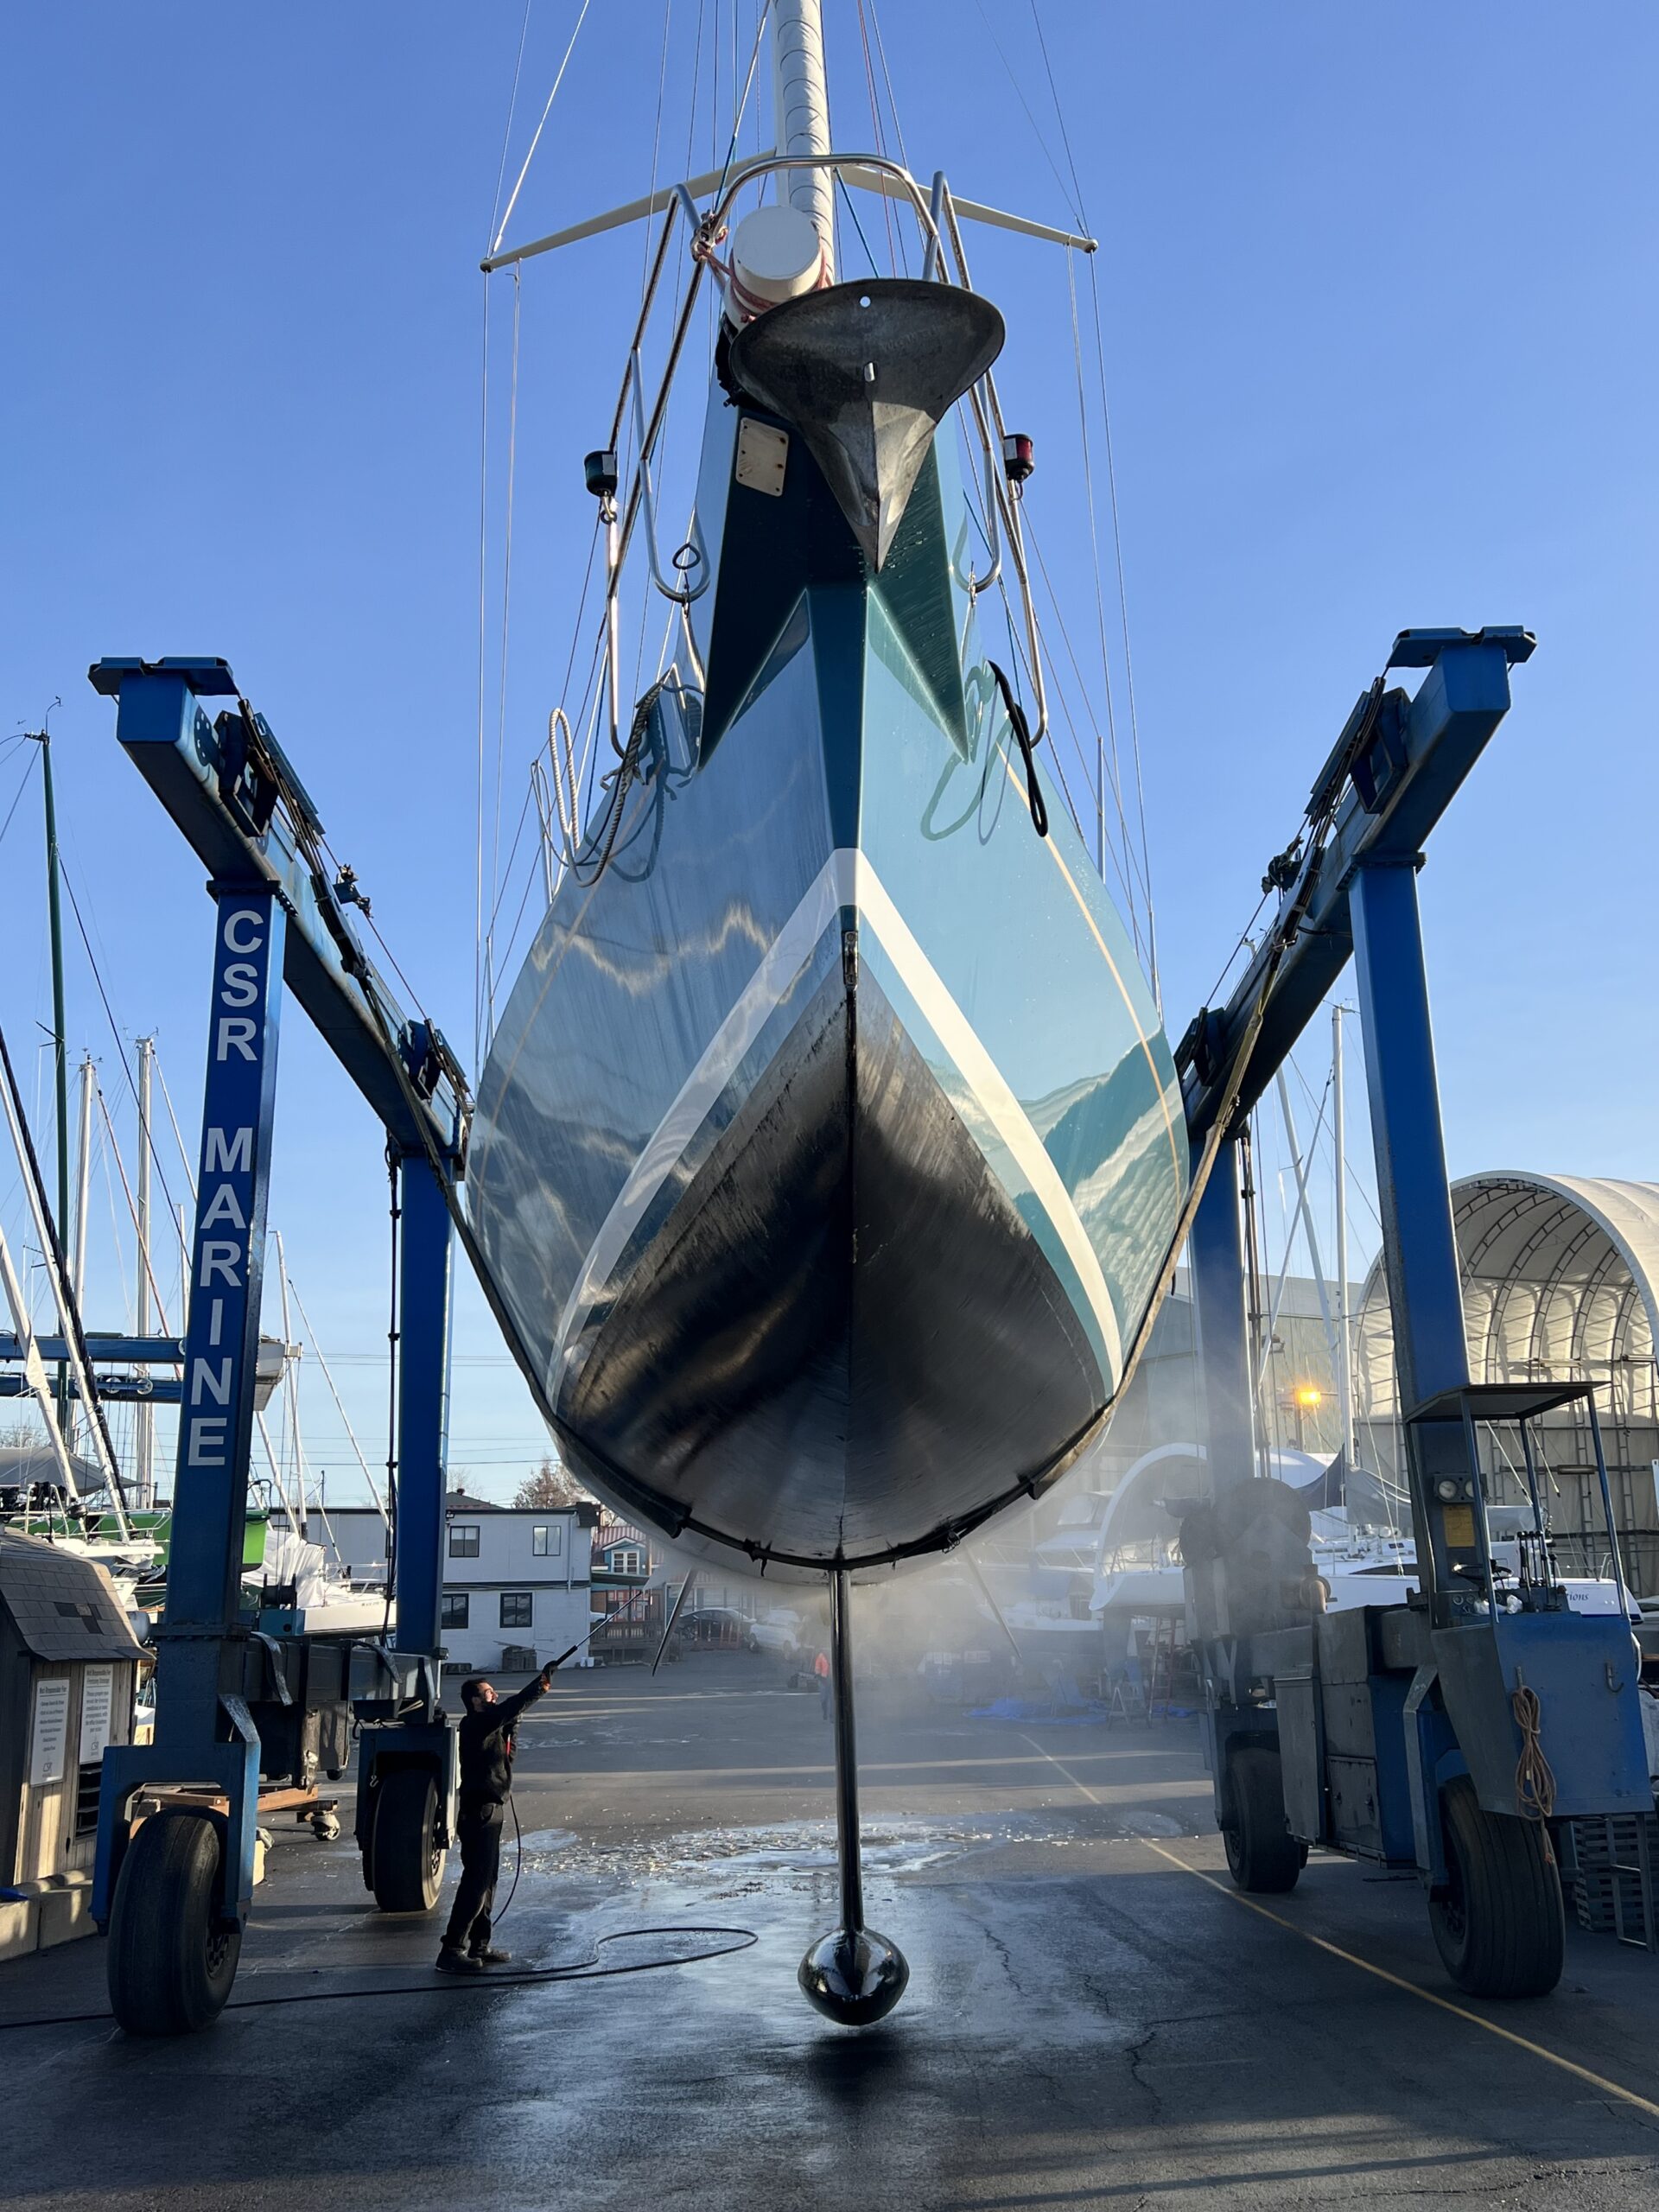
The keel bulb was still weeping water after being on the hard all this time. The lead is wrapped in a layer of glass which had a few cracks or holes where water got in. One was on the side but there were more spots on the underside where the bulb was resting on a piece of plywood on the ground. There’s no way to get to the underside of the bulb without lifting the boat with one of the travel lifts at the yard so up she went! Then, no big deal, I laid on the ground partially under the bulb and prepped that area with a grinder. The boat swayed just a little in the travel lift and the bulb moved around, sheesh, I didn’t like staying under there long. A few lay ups on the bottom, some fairing, and more paint and we were good to go back in the water and home to Shilshole. We were just one week shy of 3 months out of the water!